A crucial component in your car’s engine that ensures proper operation is the timing belt. Over time, this belt can wear out and may need to be replaced to prevent potential engine damage. In this guide, we will walk you through the process of replacing a car’s timing belt to help you maintain the health and longevity of your vehicle.
Inspecting the Timing Belt
Before diving into the replacement process, it is essential to inspect the condition of your car’s timing belt. Look for signs of wear such as cracks, fraying, or glazing. If you notice any of these issues, it is a clear indication that the timing belt needs to be replaced promptly. Additionally, refer to your car’s manual to determine the recommended interval for changing the timing belt, as preventive maintenance is key to avoiding costly repairs.
Gathering the Necessary Tools and Parts
Replacing a timing belt requires specific tools and parts to ensure a successful job. Before starting, make sure you have the following items on hand:
– New timing belt
– Tensioner pulley
– Idler pulley
– Water pump (if needed)
– Wrench set
– Socket set
– Torque wrench
– Screwdrivers
– Jack and jack stands
– Coolant
– Gasket sealant
Preparing the Vehicle
To access the timing belt, you will need to remove various components of the engine. Start by disconnecting the negative terminal of the battery to prevent any electrical mishaps. Then, raise the front of the car using a jack and secure it with jack stands for safety. Remove the necessary parts to reach the timing belt, such as the engine cover, accessory drive belts, and any components blocking access to the timing belt cover.
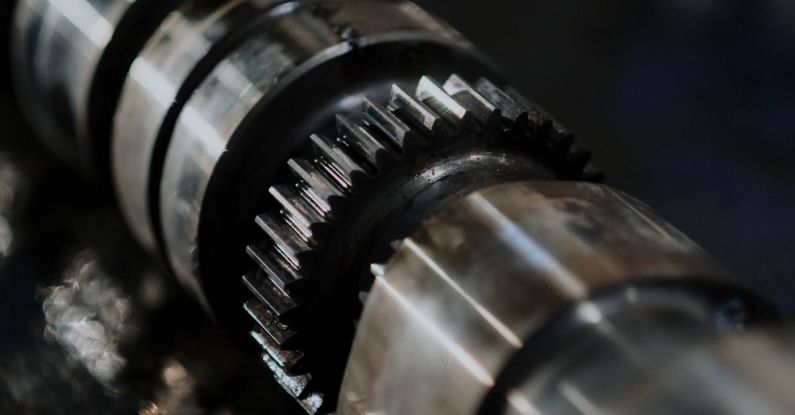
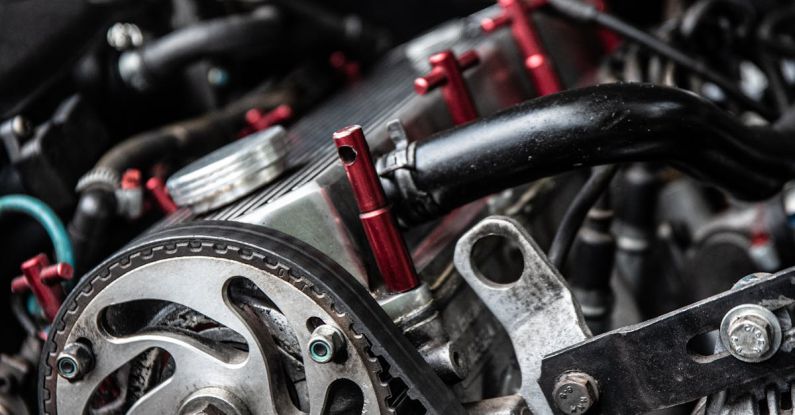
Removing the Old Timing Belt
Once you have exposed the timing belt, take note of its current position and orientation to ensure proper installation of the new belt. Begin by loosening the tensioner pulley to release the tension on the timing belt. Carefully remove the old belt, making sure not to disturb the position of any other components in the engine. Inspect the pulleys and tensioner for any signs of wear and replace them if necessary.
Installing the New Timing Belt
Before installing the new timing belt, make sure all components are clean and free of debris. Begin by threading the new belt around the pulleys according to the manufacturer’s specifications. It is crucial to maintain the correct tension on the belt to prevent slippage or premature wear. Refer to your car’s manual for the recommended tensioning procedure and use a torque wrench to tighten the tensioner pulley to the specified torque.
Reassembling the Engine
Once the new timing belt is properly installed and tensioned, reassemble the engine components in the reverse order of removal. Double-check that all bolts and fasteners are tightened to the correct specifications to prevent any issues during operation. Refill the coolant reservoir with the appropriate coolant mixture and start the engine to ensure everything is functioning correctly.
Maintaining the Timing Belt
After replacing the timing belt, it is crucial to monitor its condition regularly and adhere to the manufacturer’s recommended maintenance schedule. Regularly inspect the belt for signs of wear and replace it as needed to prevent any potential engine damage. By staying proactive with your vehicle’s maintenance, you can ensure a smooth and reliable driving experience.
In conclusion, replacing a car’s timing belt is a critical maintenance task that should not be overlooked. By following the steps outlined in this guide and staying proactive with your vehicle’s maintenance, you can keep your engine running smoothly and avoid costly repairs in the future. Remember to consult your car’s manual and seek professional assistance if you encounter any challenges during the replacement process.