When it comes to maintaining your vehicle, ensuring that the exhaust system is in optimal condition is crucial for both performance and safety. One effective way to check the health of your exhaust system is by performing a smoke test. This simple procedure can help you identify any leaks or issues that may be present in the system, allowing you to address them before they escalate into larger problems. In this article, we will guide you through the steps of performing a smoke test on your exhaust system.
**Understanding the Importance of a Smoke Test**
A smoke test is a diagnostic method used to detect leaks in the exhaust system by introducing smoke into the system and observing where it escapes. This test is particularly useful for identifying leaks in the exhaust manifold, catalytic converter, muffler, and exhaust pipes. By conducting a smoke test, you can pinpoint the exact location of any leaks and take the necessary steps to repair them promptly.
**Gathering the Necessary Tools**
Before you begin the smoke test, make sure you have all the required tools and materials on hand. You will need a smoke machine, which is readily available at most auto parts stores or can be rented from a mechanic shop. Additionally, you will need a set of goggles and gloves to protect yourself during the test.
**Preparing for the Smoke Test**
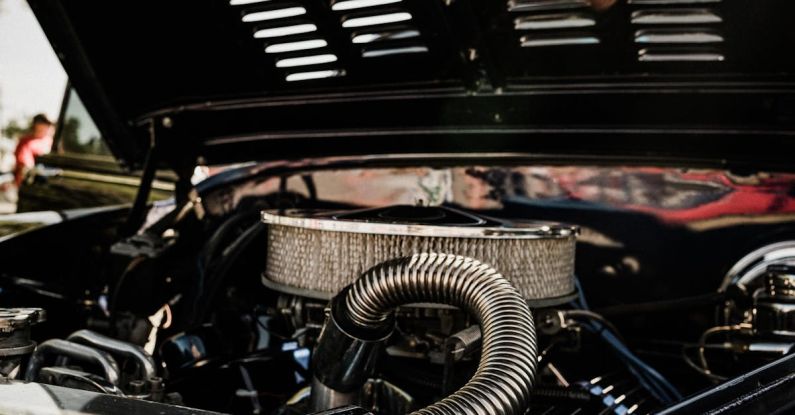
To prepare for the smoke test, park your vehicle in a well-ventilated area, preferably outdoors. Start the engine and allow it to reach operating temperature. Turn off the engine and let it cool down slightly before proceeding with the test. Before connecting the smoke machine, ensure that the exhaust system is cold to prevent any accidents or burns.
**Performing the Smoke Test**
1. **Locate the Access Point**: Identify a suitable access point in the exhaust system where you can introduce smoke. This is typically done by disconnecting a vacuum line or removing a sensor.
2. **Connect the Smoke Machine**: Attach the smoke machine’s hose to the access point in the exhaust system. Make sure the connection is secure to prevent smoke from escaping.
3. **Activate the Smoke Machine**: Turn on the smoke machine and allow it to generate smoke. The smoke will flow through the exhaust system, highlighting any leaks or cracks along the way.
4. **Inspect for Smoke**: Carefully examine the exhaust system, including the manifold, catalytic converter, muffler, and pipes, for any signs of smoke escaping. Pay close attention to areas where the exhaust components are connected.
**Interpreting the Results**
If you observe smoke escaping from any part of the exhaust system, it indicates a leak that needs to be addressed. Common areas where leaks may occur include worn gaskets, cracked pipes, or damaged components. By identifying the source of the leak during the smoke test, you can take the necessary steps to repair or replace the affected parts.
**Addressing Leaks and Repairs**
Once you have identified the location of the leak, you can proceed with the necessary repairs. Depending on the severity of the leak, you may need to replace gaskets, weld cracked pipes, or replace damaged components. It is essential to address any leaks promptly to prevent further damage to the exhaust system and maintain the vehicle’s performance.
**Conclusion: Safeguarding Your Exhaust System**
Performing a smoke test on your exhaust system is a simple yet effective way to ensure that it is in optimal condition. By conducting this diagnostic test, you can identify and address any leaks or issues before they escalate. Regular maintenance of the exhaust system is key to preserving your vehicle’s performance and safety on the road. Make it a part of your routine maintenance checks to keep your exhaust system running smoothly for years to come.