When it comes to your car’s safety, properly functioning brakes are essential. Over time, brake rotors can wear down due to the friction and heat generated during braking. If you notice a pulsating feeling or hear squeaking noises when braking, it may be time to replace your car’s brake rotors. While this task may seem daunting, with the right tools and a bit of know-how, you can easily replace your car’s brake rotors at home.
Preparing for the Replacement Process
Before you begin the process of replacing your car’s brake rotors, it is important to gather all the necessary supplies. You will need a lug wrench, jack stands, a socket set, a C-clamp, brake cleaner, new brake rotors, and replacement brake pads. Additionally, be sure to work in a well-lit and flat area to ensure your safety during the replacement process.
Removing the Wheels and Calipers
Start by loosening the lug nuts on the wheel you will be working on. Once the lug nuts are loose, use a jack to lift the car off the ground and secure it with jack stands for added stability. With the wheel off, locate the brake caliper and remove the bolts holding it in place using a socket set. Carefully slide the caliper off the rotor and secure it to the suspension using a bungee cord to prevent damage to the brake line.
Taking Out the Old Brake Rotor
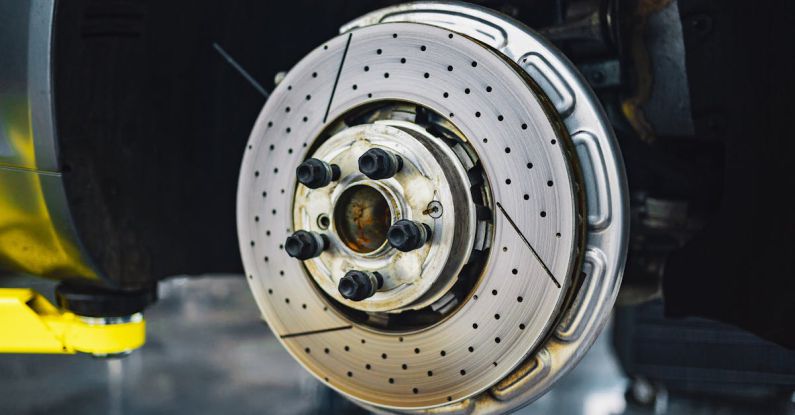
With the caliper out of the way, you can now remove the old brake rotor. In some cases, the rotor may be stuck due to rust or corrosion. To loosen it, gently tap the rotor with a rubber mallet until it comes free. Once the old rotor is removed, take this opportunity to inspect the wheel bearings and other components for any signs of wear or damage.
Installing the New Brake Rotor
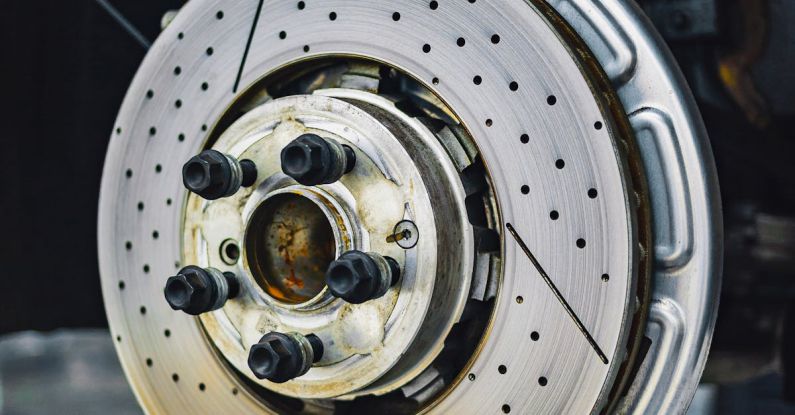
Before installing the new brake rotor, clean the hub surface with brake cleaner to ensure a smooth fit. Carefully slide the new rotor onto the hub, making sure it sits flush against the wheel. If necessary, use lug nuts to hold the rotor in place while you work on reassembling the brakes.
Reassembling the Brakes
Next, it’s time to reassemble the brakes by reinstalling the caliper over the new rotor. Make sure the caliper is aligned properly and tighten the bolts securely. Once the caliper is back in place, compress the brake caliper piston using a C-clamp to accommodate the new brake pads’ thickness.
Replacing the Brake Pads
Before putting the wheel back on, check the brake pads for wear and replace them if necessary. Slide the new brake pads into the caliper bracket, ensuring they are positioned correctly. Once the brake pads are in place, reattach the caliper bracket and secure it with the bolts.
Finishing Up
With the new brake rotor and pads installed, double-check all the bolts and connections to ensure everything is secure. Lower the car back to the ground and tighten the lug nuts. Finally, repeat the process for the remaining wheels to complete the brake rotor replacement on your car.
In conclusion, replacing your car’s brake rotors is a manageable task that can be done at home with the right tools and a little patience. By following these steps, you can ensure your car’s brakes are in optimal condition, keeping you safe on the road. Remember to take your time and pay attention to detail throughout the process to guarantee a successful brake rotor replacement.